Phaser 3: ES6 Webpack Project Template

Leave a comment Standard

So I’ve been playing around with Phaser 3 a lot lately and one of the biggest issues for me was getting it up and running with Babel and Webpack along with writing unit tests and jsdoc and all that fun stuff. Hence why I decided to make this nice little project template repo that you can use to start development on your own Phaser 3 game.

Grab the code here: https://github.com/design1online/phaser3-es6-webpack-template

Phaser 3 Webpack ES6 Project Template

A Phaser 3 project template using webpack, SASS, Babel ES6, and eslint set to use the airbnb preset. It also includes a folder of example scripts to help start your development.

Requirements

We need Node.js to install and run scripts.

Setup & Development Commands

Run the appropriate command in your terminal:

Command Description
npm install Install dependencies and launch browser with examples.
yarn start Launch browser to show the examples.
Press Ctrl + c to kill http-server process.
yarn deploy Create a distributed version of the build that’s minified and uglified.
yarn lint Run the linter, defaults to using airbnb style guide (https://github.com/airbnb/javascript).
yarn lint:fix-dry-run Run the linter and automatically fix without saving changes.
yarn lint:fix Run the linter and automatically fix problems and save changes.
yarn test Run the unit tests. Looks for files matching the pattern *.test.js.
yarn test:watch Run the unit tests but keep watch for changes.
Press Ctrl + c to kill the watch process.

Grab the Code

https://github.com/design1online/phaser3-es6-webpack-template

The Game Plan: Minimum Viable Product

Leave a comment Standard

In the previous posts we talked about how to create a budget for your game, some helpful tips if you’re not a programmer and finally we went over the best ways to help you in getting started. Now it’s time to talk about actually making something you can actually call the game.

What is a Minimum Viable Product (MVP)?

The idea of a MVP is to take the core mechanics of your game without any thrills or bells and whistles and put them to the test. This helps you get a working product and make iterations on it if you notice something doesn’t work the way you intended or just isn’t fun to play. This is also a huge way to save time and energy if say, that feature you spent months making graphics and 3D models and sounds for isn’t actually all that fun and you end up just tossing it out later.

How do I decide what is MVP?

First let’s take time to look at the features you wrote down when you were getting started. Now go through your list and take everything out that isn’t 100% essential to a base line working game. This usually includes things like, energy booster packs or power ups or multiple levels, or more advanced variations on a more basic feature. This also includes most graphics and 3D models and sounds and sound effects. While those are nice to have most times they are not actually essential to a working, playable game. Take pong for instance, you can play the core mechanics of the game with square pixel art just as well as you can with a 3D soccer ball with trail effects and a flashy background of a soccer field with soccer goals and kicking sounds every type you hit the ball. The core mechanics of the game remain the same despite the addition of the graphics and sounds and sound effects.

Prioritize speed and working game mechanics over quality

Since your MVP is essentially your playground to test out your game ideas we don’t want to spend thousands of hours perfecting something before we can even figure out if it’s going to work well enough or not. That means your super special spin kick with high quality physics computations isn’t all that important when you realize enemies are too hard to kill or the level isn’t playable or your character can die too easily.

Instead use this time to make something ugly, crappy, and even glitchy as long as the core game mechanics are in place and working. This will start to give you a feel for how what you’re making will actually play. It will tell you right away if something is too hard, or a level is too short, or your character is jumping too high or not high enough, or that your quest system is impossible to complete.

For a lot of people this kind of thing makes them feel “icky” and instead they strive right away for the “perfect, glitch free” game right from the start. This will lead you down the rabbit hole of not good enoughs. The character’s movement isn’t good enough, or the colors aren’t good enough, or the music, etc, etc. Striving for perfection at this stage is a totally moot point when you don’t even know if your base line is even worth putting the time and effort into it.

MVP done? Now it’s time for feedback!

Once you have some semblance of an MVP it’s time for you to get feedback. I like to get feedback as soon as possible that what it’s easier to change things that I may have missed earlier in the process when there are fewer things to take into account in the big picture of the gameplay.

Feedback is also a great way to find issues you hadn’t considered such as the speed of this level gives me a headache or I can’t tell the difference between an ally or enemy. It will also help you figure out what other people think about the game and if they find it fun to play or not. After all, no one wants to spend time playing a game if they don’t think it’s fun, or it’s too hard to learn, or it’s too slow/fast to keep their attention. That

Word of Advice on MVP Feedback

Don’t ignore constructive criticism even if it’s not what you want to hear. That doesn’t mean you have to change or add anything anyone has ever asks you for — it means you need to take those things into consideration going forward. Ignore the feedback that focus on your aesthetics — at least initially — because you can always change and fix those later and an MVP really shouldn’t focus on graphics at this point. Core mechanics and gameplay are much harder to tackle and fix once you’ve invested lots of time and energy into them.

Game Finances: Amortization

Leave a comment Standard

What Is Amortization?

This is an accounting term for taking multiple payments over time or spreading a single payment out over a period of time.

Example 1: Taking Multiple Payments

One way you can use amortization to your benefit is to take multiple payments for something. So let’s say you have a yearly upgrade that costs $50. Amortization in this instance means you allow the player to break that payment down into multiple payments. For instance, they might make two payments instead of a single one; $25 for the first 6 months of the upgrade and then another $25 for the last 6 months. With amortization you can brake a payment down into as many smaller payment as you’d like. So instead of taking 2 payments you might decide to take 5 or 6 or 30 — however it best suits your player base and brings you good business. Generally speaking, most people tend to break payments down into no more than 12 just because it makes the accounting practices easier if you have one payment a month. If you broke this $50 upgrade into 12 payments then your players could become an upgraded member for only $4.20 a month.

Why Is Example 1 So Helpful?

Many people are more willing to make smaller payments. This means that even if you don’t get a full year’s upgrade from one member you’re still bringing in income. It also encourages people to try out your upgrade system with a much smaller risk to themselves. If they don’t like the upgrade they’ve only spent half or much less than half the money than if they’d paid for a full year. It also gives them the ability to come and go on their upgrade much more readily than if they had to pay the larger sum each year. They can buy one month and not the other, then come back for the month following that allowing them more flexibility to purchase and keep their upgrade.

What’s The Downside of Example 1?

You may not be bringing in as much money as you like. Because the payments are smaller you also have more online processing fees that are applied, however some payment services will allow you register as a micro-transaction account and will take lower fees since you will be bringing in a higher volume of payments. While payments are likely to happen more frequently they will only be in smaller amounts which may make it seem like your bank account is always struggling to stay at a more comfortable level when you have slower times.

Example 2: Taking One Payment and Spreading It Over a Period of Time

This other example is one that many of you may not know about. It applies the same kind of idea except you only take one payment and you only apply a portion of that payment to your income over a duration. For example, let’s say you got your $50 upgrade and we go back to our 2 payments example. Instead of thinking of that $50 as one payment you apply $25 to this month and then 6 months later you apply the other $25. You may still have the full amount of $50 but you’re not considering it income until a period of time has passed. This idea works best when you break a payment down into bi-annually, quarterly or monthly time periods. So in our second 12 month example, instead of getting $50 for this one payment you apply $4.20 from this payment across every month.

Why Is Example 2 So Helpful?

This is really the icing on the cake and most people don’t realize it! When you take in the one payment and spread it out amongst a period of time it gives you more solid, steady income. Instead of getting $50 one month, and nothing for the next 12 months, you now have a steady stream of income coming in all year long. Generally speaking, with games the upgrade tend to have highs and lows, where people are upgrading a lot and then not upgrading at all. You may get $4,000 in upgrades one month and then nothing or very little for the next two. With this kind of amortization that $4,000 is spread over the rest of the time period. So in our 12 month example you would be bringing in $334 a month instead of $4,000 in one lump sum. This also helps you keep a steady income for the entire year instead of getting less reliable income over the duration of the year, even if the overall total for whatever time period you’re shooting for is lower than what you bring in for a month. It’s great for budgeting and paying your bills and helping you keep your game open even in slower months.

What’s The Downside of Example 1?

This example takes discipline!! It’s a much different way of thinking about the income you’re bringing in because the balance in your bank account may reflect one thing while your calculations reflect another. It is very tempting to just look at your total balance and think I have $4,000 rather than I only have $334 to spend this month. It also requires some math to keep track of how much money you are amortizing over time whereas Example 1 is easier to keep track of because you immediately account for the money from each payment you get.

What do you think about amortization? Do or have you used it? Which type of amortization do you prefer?

I would love to hear your thoughts, comments, questions and experiences!

Scrum Values

Leave a comment Standard

I just did a great retrospective today where we ranked each of the scrum values into two categories, what we did well and what needed improvement. For each of the values we also commented on how or why we put the value into that category. It opened the team to some really good discussions so I thought I would share the idea and the values.

Courage – saying and doing the right thing and agreeing to work on tough problems

Respect – team members view each other to be capable independent people and encourage each others’ unique ideas and points of views

Commitment – each member in the team commits to achieving the goals for the sprint, project or team

Focus –  drilling into the work of the sprint, achieving the sprint goal and completing your assigned tickets within the sprint

Openness – clear about our work and the challenges with performing the work, able to ask for help and share what’s going on in the sprint

Share the Love! Free Programming eBooks

Leave a comment Standard

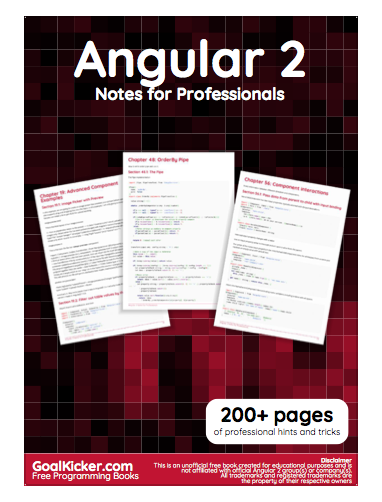
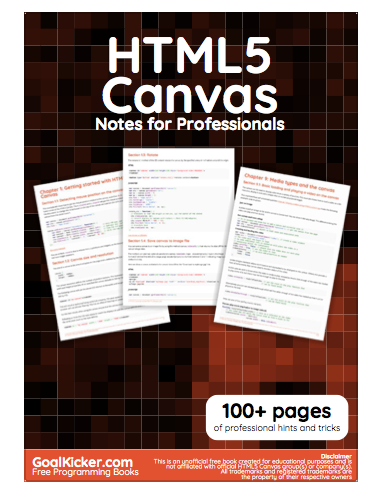
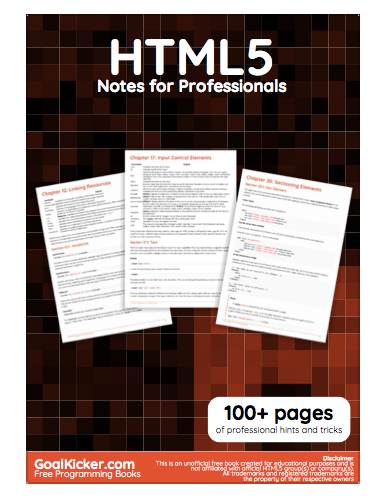
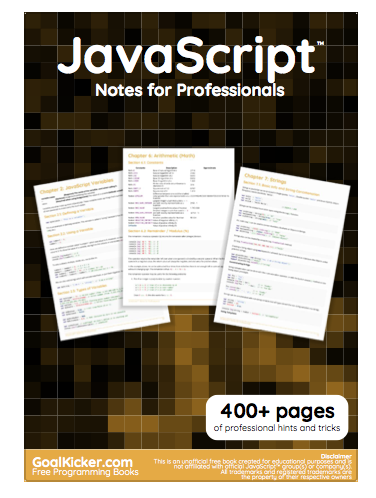
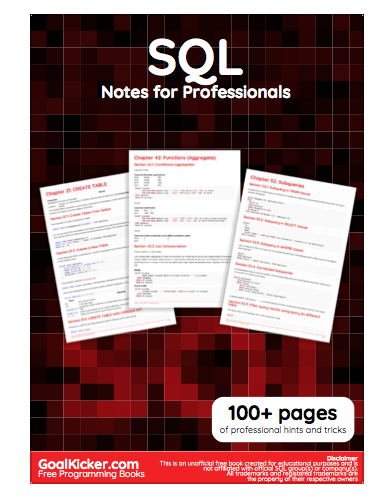
GoalKicker.com is giving away these free programming books and I thought I would share the love for anyone who hasn’t seen them yet. There are more available from their website but these are the ones I was most interested in. Enjoy!

Screen Shot 2018-01-31 at 4.26.46 PM

Screen Shot 2018-01-31 at 4.26.54 PM

Screen Shot 2018-01-31 at 4.27.01 PM

Screen Shot 2018-01-31 at 4.27.11 PM

Screen Shot 2018-01-31 at 4.27.18 PM

Screen Shot 2018-01-31 at 4.27.24 PM

Screen Shot 2018-01-31 at 4.27.37 PM

Screen Shot 2018-01-31 at 4.27.44 PM

GIT Tutorial: Fetching and Testing Pull Request Branches Locally

Leave a comment Standard

There are a lot of times when you’re using Git and BitBucket in a work environment and you want to be able to test someone’s PR branch without having to download a patch or clone it. Here’s a nifty trick that will allow you to fetch and checkout PR branches on your master repo without having to clone or patch from BitBucket.

1. Add your remote master as an upstream

git remote add upstream ssh://user@myrepo.git

2. Change your new remote to fetch from your pull requests instead of regular branches

git config --add remote.upstream.fetch '+refs/pull-requests/*/from:refs/remotes/upstream/pr/*'

3. Now fetch the PR branches that are currently available in your repo

git fetch upstream

4. Finally, you can use the ID of the PR you want (the ID will be available in the URL of the link to the PR) and simply checkout the PR with that ID number by replacing ID with the number of the PR in the code snippet below.

git checkout upstream/pr/ID

5. Voila! You’ve now downloaded a PR branch to your local git instance and can run it like you would for any other branch.